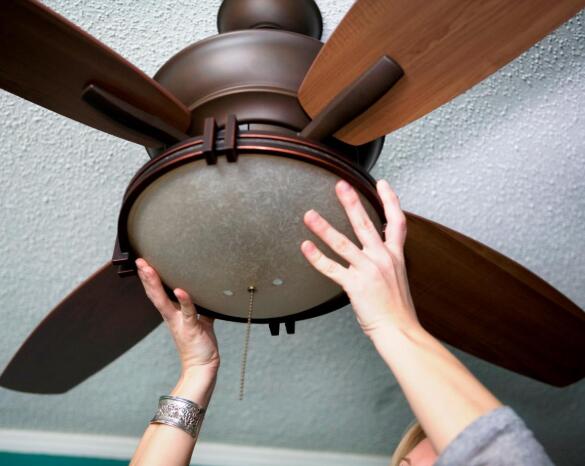
With the latest technological improvement, you can be able to install ceiling fans in your house. Ceiling fans with light will help in cooling and lighting your home. Especially during the hot summer, your house will be kept in a fresh condition. Hence, having a ceiling fan with a light fixture in your house is a must-have unit. The installation of these types of fans is quite easy. As long as you can follow the manufacturers’ instructions on installing, the process is straightforward. Therefore, you will not need to call for a professional to install for you.
Benefits of Installing Ceiling Fans with Lights
- Installing fans with lights saves on the cost of energy bills.
- Ceiling fans help to circulate fresh and hot air during hot and cold seasons, respectively.
- Ceiling fans with light provides you with proper air circulation and lighting at the same time.
Step by Step Process of Installing a Ceiling Fan with Light
Installing a fan is one of the ways of reducing energy bills while improving your home comfort. The following are the steps for installing ceiling fans.
1. Review of safety rules
Reviewing the safety rules helps to reduce personal injury and property damage. These rules include:
☑ Shutting off the power before starting the installation process.
☑ Confirm that there is no obstruction at the site of installation.
☑ Select a UL-Listed outlet box “Acceptable for Fan Support.”
☑ Verify if all the connections comply with National Electrical Codes, laws, and local codes.
☑ Carefully go through the manufacturer’s directions for any extra safety measures.
2. Assemble the Tools recommended for installing a ceiling fan with light
If you are preparing to install a ceiling fan, after confirmation of all the safety rules, ensure you also assemble the following essential tools in your toolbox.
☆ Cordless drill with a long bit
The cordless drill drills holes during the utility box installation to the ceiling joints.
☆ Crescent wrench
Use the crescent wrench to tighten any bolts
☆ Voltage tester
It’s a test light that has two leads for detecting the presence of electricity. Use the voltage tester to ensure there is no power passing through the ground cable or hot wire.
☆ Wire cutters
Use a wire stripper during installation by stripping and cutting the fan cables during down rod connection.
☆ Pliers
Use the pliers to tighten lock nuts and set screws during down rod assembly.
☆ Screwdrivers/ screw gun
Use a flat-headed screw gun to tighten and hold the screws on the motor housing to avoid any looseness.
☆ Electrician’s tape
The insulating tape is essential for securing wires that conduct electricity. Use the insulating electrical tape to insulate the connections.
☆ Ladder
You can use a ladder to reach high ceiling positions to hang the mounting bracket motor assembly and also fix the ceiling fan.
☆ Dust mask
the mask protects you against inhaling dust or other pathogens during installation and assembling of the ceiling fan with light.
☆ Safety glasses
It will protect your eyes against any harmful materials and any flying matters during the installation process.
3. Site selection of where to hang the ceiling fan with light
Selecting a better site to install a ceiling fan with light is essential. The correct position will ensure the fan’s performance is accurate, efficient, and also safer. Consider the following details when selecting an installation site;
>Ceiling fans with light should hang about 9 feet above the floor to provide optimal light and airflow.
>The ceiling fan’s blades should hand at least 7 feet from the floor to maintain a proper blade clearance.
>The ceiling fan blades also must hang about 12 inches below the ceiling board.
>The blades should be at least 20 inches far from the cabinets, walls, or doors.
>The location of the ceiling should be free from cracks.
4. Uninstall any existing ceiling fan or light fixture
In case there might be any existing fan in the location you have selected, uninstall the fan. For you to successfully uninstall the fan or light fixture, ensure that:
- You switch off the power from the wall switch.
- Uninstall the light fixtures as follows- remove the glass fitters, then the light bulbs, the canopy, and lastly, the mounting brace.
- For ceiling fans, uninstall the ceiling fan as follows- remove the light kit, the blades, the canopy, motor devices, and then lastly, remove the mounting bracket.
5. Install the ceiling fan
You can install the ceiling fan of your choice, either fan with a brace or a fan with a down rod. The following is the installation procedure:
Step #1:
Install a mounting bracket and tighten it with screws.
Step #2:
Then feed electrical cables inside the mounting brace or bracket wall. Withdraw the blocks from the motor and then throw away the blocks.
Step #3:
Assemble the motor housing.
Step #4:
Trim the wires to 6 inches, strip 1 inch of the insulation wire from the end. Withdraw the set screw on the engine. Pass the cables through the down rod and fix it tightly to the motor using hands.
Step #5:
Fasten the set screw on the motor and fix tightly using pliers. Thread the wires through the canopy and allow it to stay loosely on the motor housing.
6. Wiring the ceiling fan
- Lift the motor devices and insert the down rod ball in a gap at the bracket and place the wall control receiver.
- Insert a plastic wire connector above the bare metal leads held together to connect the wires. Twist the leads clockwise until it is tight.
- Turn the connections up and push them into an outlet box.
- Separate the grounded wires from ungrounded wires in the outlet box.
- Connect the canopy
- Place the canopy to the mounting bracket and ensure the holes on the canopy align with the screw holes on the mounting bracket. Insert the screws and tighten using the screwdriver.
7. Attach the fan blades
Insert rings into fan blades holes. Place the blades to the iron-blade with screws provided. Loosely fix the iron blades with the screws to the motor housing. Once all the blades are attached, tighten all the screws.
8. Switch the housing and install light kits
- Join all plugs from the lower and upper switch and ensure the colored markings are lined-up on the connection.
- Fix the lower switch canopy to the screw holes on the upper switch housing.
- Then insert the three-switch assembly and tighten the screws.
- Open the thumbscrews on the lighting kit, insert the glass shade, tight-fit the thumbscrew, and fix a bulb on each light socket.
Test and enjoy your ceiling fan and light!
The Cost of a Ceiling Fan Installation with Light
The cost of a ceiling fan installation with lights ranges between $140 and $400. An electrician can easily do the installation. However, the installation cost will vary depending on the following;

Your style
Different fan styles vary from slick stainless steel to traditional carved oak to fans propeller-like of old airplanes. Each of these fans varies in prices. Also, you can be having small ceiling fans or bigger ceiling fans. The ceiling fan you choose will affect the cost of installation.
Fan size
The larger the size of the fan motor, the more expensive it may be to install. Fans with a large motor may be quite costly and also consume a lot of power.
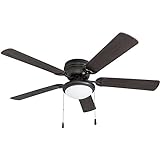
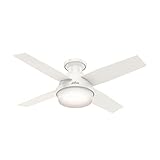
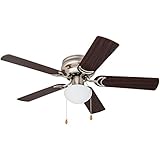
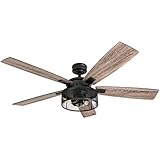
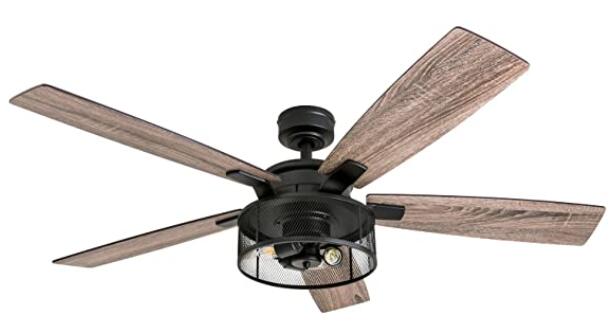
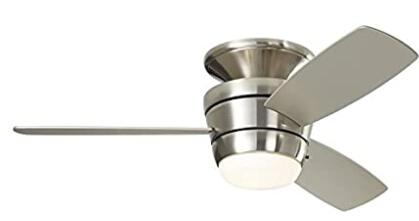
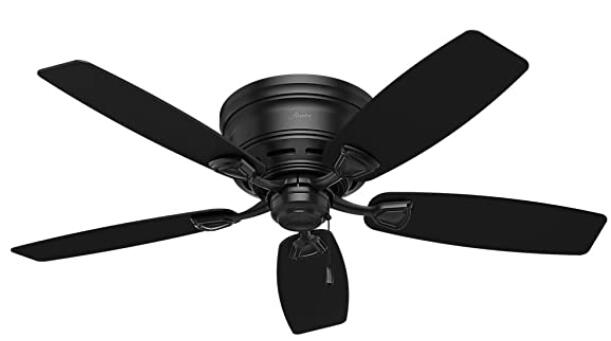
Check Different Sizes of Ceiling Fan Recommend
Hidden electricity cost
Ensure your circuit does not get overloaded. Your circuit should be able to handle both the ceiling fan and lights. If your circuit cannot achieve this, you will need to run a new circuit from the main circuit to the fan, which is an extra cost after installing a ceiling fan with lights.
Fan installation process
If, for instance, you do not know how to install the fan with lights in your house, you will be required to hire someone at a cost. You can be charged depending on the components involved to assemble and procedures involved.
How to Install an Outdoor Ceiling Fan with Light
Having lights on your outdoor ceiling is an excellent way to maximize space and eliminate the need for a separate light. The addition of a light kit to your outdoor ceiling fans transforms any space into a well-lit oasis.
The following are steps for installing an outdoor ceiling fan with light.

Planning
Select the type, color, and size of a ceiling fan you want to have. The fan should have a damp rating, always noted at the front corner of the box. A damp rated ceiling means the fan is best for outdoor use.
You will also need to plan the site to locate your outdoor ceiling fan. Check properly and ensure the blades won’t come into contact with the walls, posts, or any other obstacles. Also, ensure the ceiling is higher enough to allow the fan to circulate without injuring anyone.
Ensure the power is off. Test all wires to ensure that there is no power going through.
Install wiring
Start by running the electrical wires from the circuit to the site where the fan will be. You can quickly achieve by running the cable directly to the circuit box or wiring it to enter into a nearby electrical outlet. Also, you can choose to run the wiring to a light switch. Wire installation steps may require you to pull wires through the wall.
Install the electrical box
Once the wiring process is through, you can now install the electrical box. Otherwise, you can insert a brace to hold the box for your fan. Follow the manufacturer’s instructions well on how to attach the electrical box to the brace, while pulling the wires through before mounting it.
Assemble the fan
Sometimes the fan may come when not assembled. And you will be required to assemble before installing. You will have to assemble the blades and the lighting fixtures the fan has. Follow the manufacturer’s directions and tighten the screws and bolts as you assemble.
Install the outdoor ceiling fan with lights
Once you have assembled the fan equipment with the lighting features, mount the fan base to the electrical box. Pay careful attention while wiring and matching up appropriate wires. Always use wire connectors while attaching wires and making stable connections. Place the fan tightly on the electrical box to ensure there is no shaking when the fan is in motion.
Once you are through with connections, turn the circuit back and ensure the outdoor ceiling fan moves freely without vibrations. Then install your lighting bulbs and ensure the lighting works as you expected.
How Much to Pay Someone to Install Ceiling Fans with Light
Installing ceiling fans with lights helps to cool down your house and, at the same time, provide lighting. However, before you could hire an electrician to install your ceiling fan with light, here is how much it will cost.
A profession will do it correctly, helping you to avoid any wiring hazards. But the cost will depend with;
Wiring
If the wiring is through, the installation could be a bit cheaper. But if the electrician has to do the wiring as part of the installation, it might be considerably expensive.
Type of mounting
The type of mounting you are using for your fan might vary in price. Down rod mounting price might be different from the bracket mounting.
Ceiling height
The higher the ceiling, the more expensive installation cost might be.
Generally, the installation costs around $100 -$150 to install a ceiling fan, minus the buying price. Therefore, it is essential to know the cost an electrician can charge to install the ceiling fans with light before getting into the job.
Conclusion
Having ceiling fans in the house is a great outlook, especially during the hot summer. Installing ceiling fans with lights is one way of reducing and saving the energy bill and space. You can comfortably utilize one circuit for lighting and cooling the house. However, during the installation process of all types of ceiling fans, you should read and understand the manufacturer’s directions and observe safety rules to avoid any hazardous incidents.