
A ceiling fan is a great way to cool your rooms since you save a significant amount of money when using wind chill compared to air conditioning during summer. However, a high-speed wobbly fan will definitely bring fear to anyone standing near it. An unbalanced fan can also result in damaging the motor’s bushing and bearings resulting in irritating and unnecessary noise. Different problems cause different types of noises with your ceiling fan thus a need to identify what is causing the annoying noise. This article describes the ways to fix your noisy ceiling fan.
How To Fix A Noisy Ceiling Fan?
1. Clean Off The Blades.
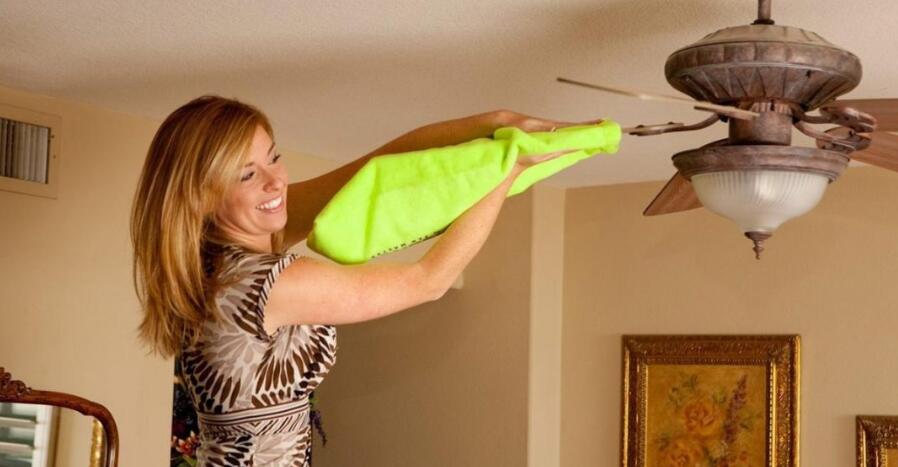
Cleaning off the blades is the simplest way to fix a noisy ceiling fan. There are fans that sit idle for quite a long time thus dust and grease accumulate on the surfaces of the blades. This results in the blades being unbalanced hence wobbling.
Wipe down each blade carefully with a damp rag and also clean the mounting blades too. There is a need to dry the moisture from the blades since most are made of a wood composite which is easily damaged by water. The noise might disappear with just simple cleaning. Thereafter, test the blades to see if there is a change.
2. Tighten The Blade Screws.
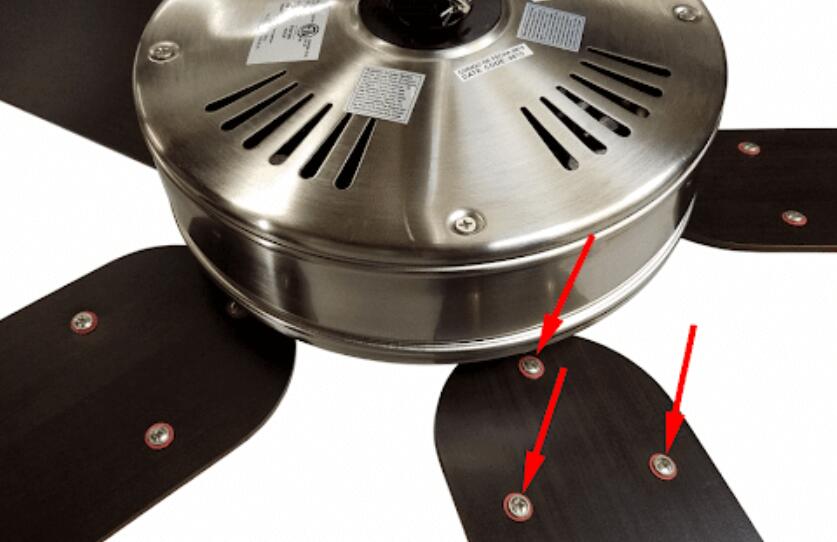 Ceiling fans are always connected to mount on the assembly. This gives them a stylish appearance but they are more useful than you might realize. Due to the blades’ rotational speed, the mount screws might loosen over time.
It is therefore advisable that you check these screws and tighten them and in most cases, the ceiling fan noise will abate with this step. It is good that you do this regularly to avoid the noise being a regular occurrence.
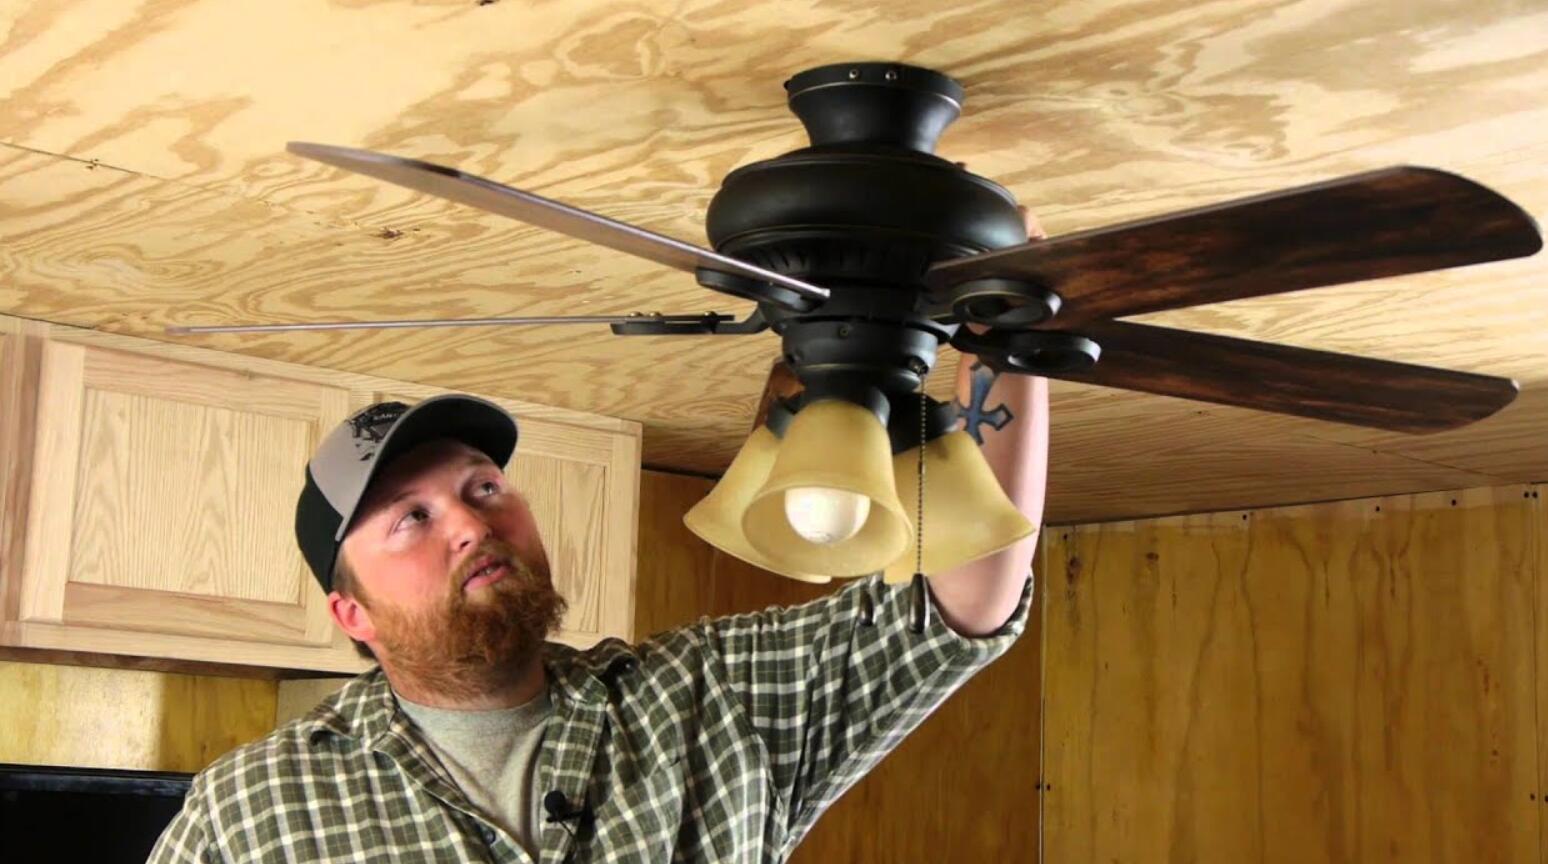
3. Tighten The Light-fixture Fasteners.
In the case where your fan is made of a light fixture, ensure that the globes, bulbs, shades, and other fixtures are snug. Most of the shades and globes are secured using thumbscrews that are easy to tighten with your bare hands. Do not use tools on these fixtures since you might overtighten the screws and unfortunately crack the glass.
If after tightening the fixture with their screw still doesn’t make them snug, you can use a thick rubber band around the neck of the shade or globe. After this, reinstall with the screws. Fan manufacturers often sell rubber “silencer” bands for this purpose.
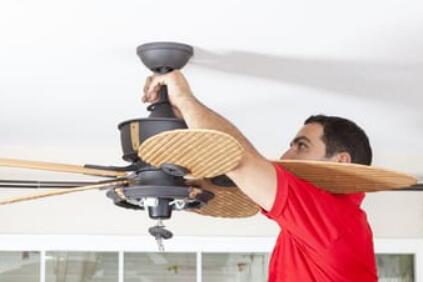
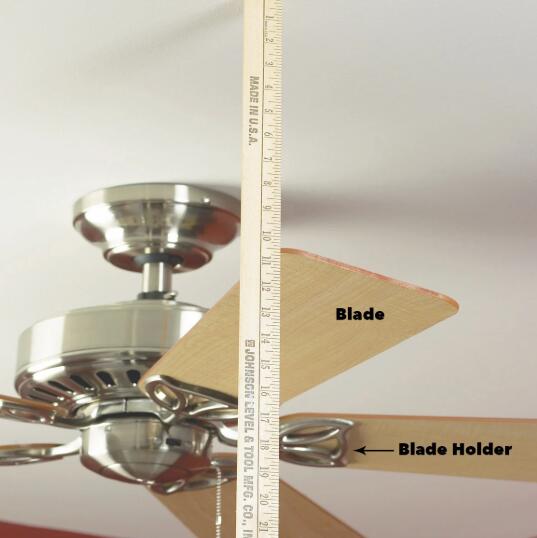
4. Examine Any Warped Blades.
It is good to know that all the blades on the fans ought to have about the same orientation and shape. This kind of troubleshooting requires you to have a keen eye for the warps at the ceiling level. Use a ladder to reach the fan blades and their profiles then, manually turn them.
Ensure that no blade is looking lower or higher than the next one. Fix the problem by bending any blades into the shape that matches the rest. There are cases that would require you to replace some blades so as to achieve a balanced look.
5. Secure The Upper Canopy.
If you take a closer look at your ceiling fan, you will notice an upper canopy that covers the point of transition into the ceiling fan. This point tightly adheres to the post of the fan but it can loosen over time.
You should, therefore, tighten the fasteners or adjust the canopy into place by screwing. The canopy has different designs depending on the manufacturer.
It is also ideal that you use a locking liquid on fasteners to prevent the canopy from getting loose frequently.
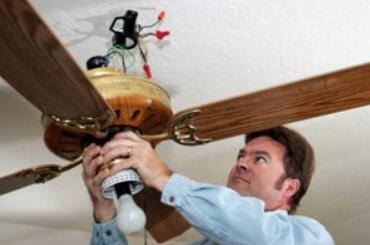
6. Lubricate The Fan Motor.
Lubrication is a way of reducing friction during operation thus ideal for your fan motor. A buzzing sound is experienced if the fan motor is not lubricated. Access the motor if your fan is noisy and check whether the motor is lubricated.
If not, add drops of lubricating oil to the motor and you can learn this from the ceiling fan manual guide. If the buzzing sound does not stop, then the motor might be breaking down. If this is the case, consult a technician to make this determination.
7. Balance The Blades.
Balancing the blades would require a simple balancing kit. The kit is mostly included in the product package and it consists of a collection of stick-on weights and a plastic clip. On one of the blades attach the clip on the rear edge, and turn on the fan. If the wobble disappears, then the problem is solved. Switch off the fan and place the clip to other different positions within the same blade to identify the position that is most effective at reducing wobbling.
Finally, position one of the weights at the top side of the blade, to the middle part and it should be directly across from that clip. Again test the fan and you can add another weight if it is necessary. If the fan is still wobbling after the first clip test, try it on every blade until you get the right one.
8. Check The Pull Chain.
The latest ceiling fans come with remote control, but there are other models that still use a pull chain. The pull chain is installed apart from the moving parts though it can cause a noisy ceiling fan.
Check the pull chain when your fan is on the highest speed and ensure that it is not striking any part of the blade or the light fixture. If the pull chain is swinging, then the blades are not properly aligned, but if that is not the case, shorten the chain.
9. Tighten The Motor’s Cover.
 Many ceiling fans have a motor that is situated directly above the blades. The problem is when the cover of the motor becomes slightly loose from its position. You end up with a noisy fan since the motor’s cover will often scrape against the blades.
Switch off the fan then access the motor’s cover fastener and tighten them. This will make the lid lift away from the fan blades resulting in a quiet operation.
10. Secure The Junction Box.
The noise of your ceiling fan can arise from something that is not visible. Each fan has a junction box that is placed inside the ceiling. Its purpose is to hold the wires as well as acting as the middle ground to the fan’s connection point. You ought to remove the top mount of the fan so as to show the junction box. If the box is loose, fasten all the connections then reattach the top mount and the noise will disappear.
Final Words
In conclusion, you deserve a properly fixed ceiling fan for a great experience. You are obliged to check your fan often to avoid complicated damages that would require you to hire a technician which might cost you a lot. The above procedures will ensure your fan lasts longer guaranteeing the best experience.