
If you intend to replace a ceiling fan light fixture, make sure that you check a few connections and make a couple of repairs to ensure that you get your ceiling fan lights working again. However, for you to replace or repair your ceiling fan lights, there are various steps you need to consider. Make sure that you take your time to research and know all the essential steps that you need to follow. The following are some of the things you need to consider when replacing ceiling fan light fixture.
How to Replace a Light Fixture with a Ceiling Fan?
Check the Sockets for Damage
When you want to replace ceiling fan lights, you should start by checking ceiling fan lights sockets for damage. It is advisable to identify why your ceiling fan lights stopped working to prevent this from occurring.
Before you grab your voltage tester to check, make sure that you turn off the circuit breaker attached to your ceiling fan’s electrical circuit. It is the right step to help you make the right choice depending on the problem you have identified.
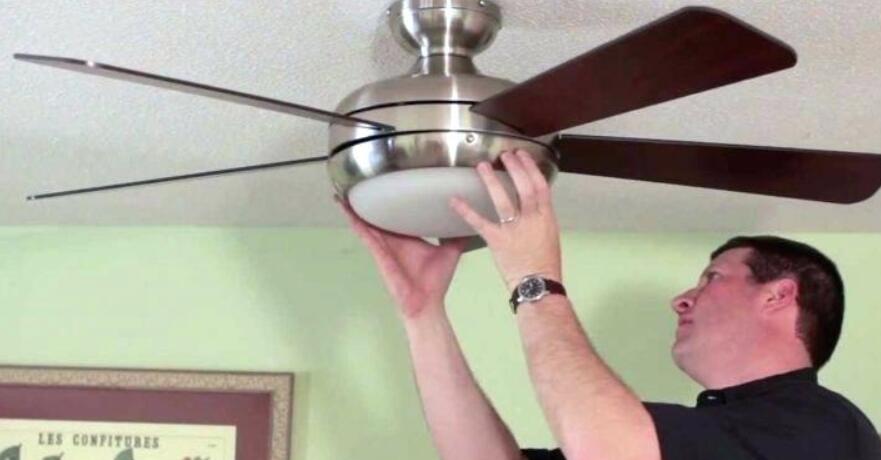
Remove Head Screws
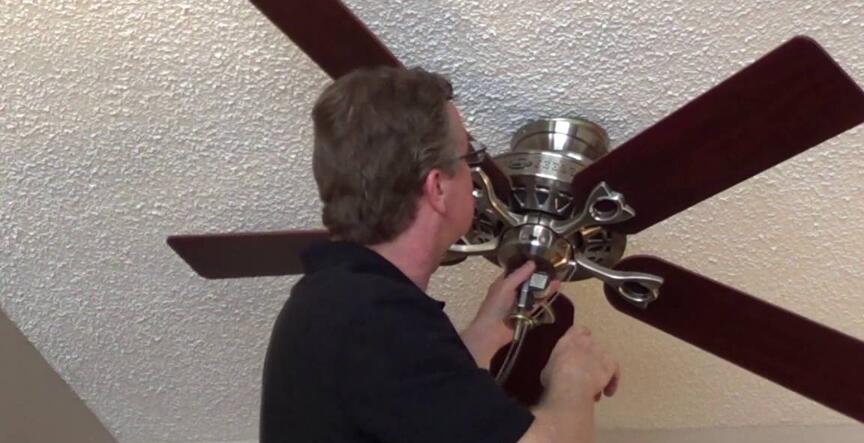
To replace your ceiling fan lights, ensure that you remove the head screw that holds the light fixture to your ceiling fan. When they are loose, you should pull down to ensure that you expose the available connecting wires. Once you have removed them, ensure that you place them in the right place to trace them when you want to tighten them back.
After doing this, you can pull it upwards to remove the fan that holds the light fixture. Depending on your model, you may need to twist this piece in a counter-clockwise direction to remove it.
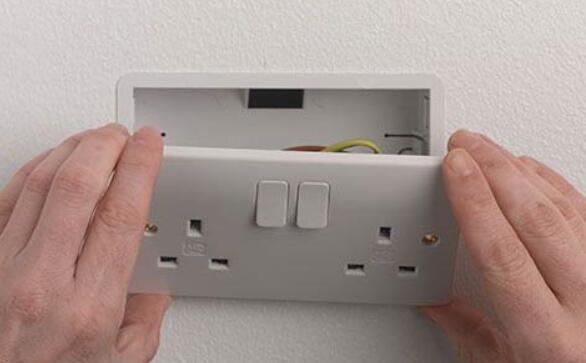
Remove the Ceiling Fan Wall Switch
The next step here is to remove the existing ceiling fan wall switch. Ensure that you switch it off before you disconnect it from your ceiling fan. After doing this, you can remove the screws that are holding the switch cover plate.
Ensure that you carefully remove or pull the switch from the box on the wall. Make sure that you disconnect the black wires that are joined to your ceiling fan.
Install Your New Ceiling Fan Wall Switch
The next step is to install the new ceiling fan wall switch. Depending on the model that you choose, make sure that you purchase a new wall switch that will match with your new ceiling lights. Remember that some bulbs cannot work with an old wall switch.
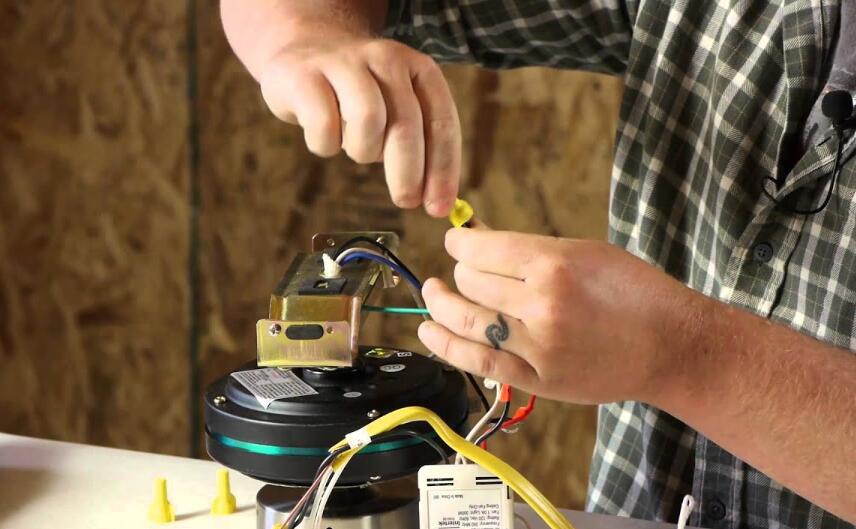
To connect the new light fixture, make sure that you locate the black wire from your light with the colored wire from the ceiling fan. Before you tighten the screws, make sure that you connect the white wires and the colored ones.
Replace the Ceiling Fan Light Fixture
The last step here is to replace your ceiling fan light fixture. In most cases, most of the modern new light fixtures that you will get in the market come with the best replacement caps.
Before you attach them, ensure that you twist them in a clockwise motion over your wires. You could use the old caps if you were not offered with the new ones. Ensure that you neatly tuck all the cables when you are connecting this fixture. After doing this, you can tighten the screws to ensure that your ceiling light is working correctly.
Final Words
Replacing your ceiling fan lights is an easy task when you follow the required steps. By reading our article, you will understand the steps you should consider if you are doing this task for the first time. You can also go through the manufacturer’s instructions when installing or replacing it for the first time. After doing this, turn on the circuit breaker and test your ceiling fan light or your light kit.